
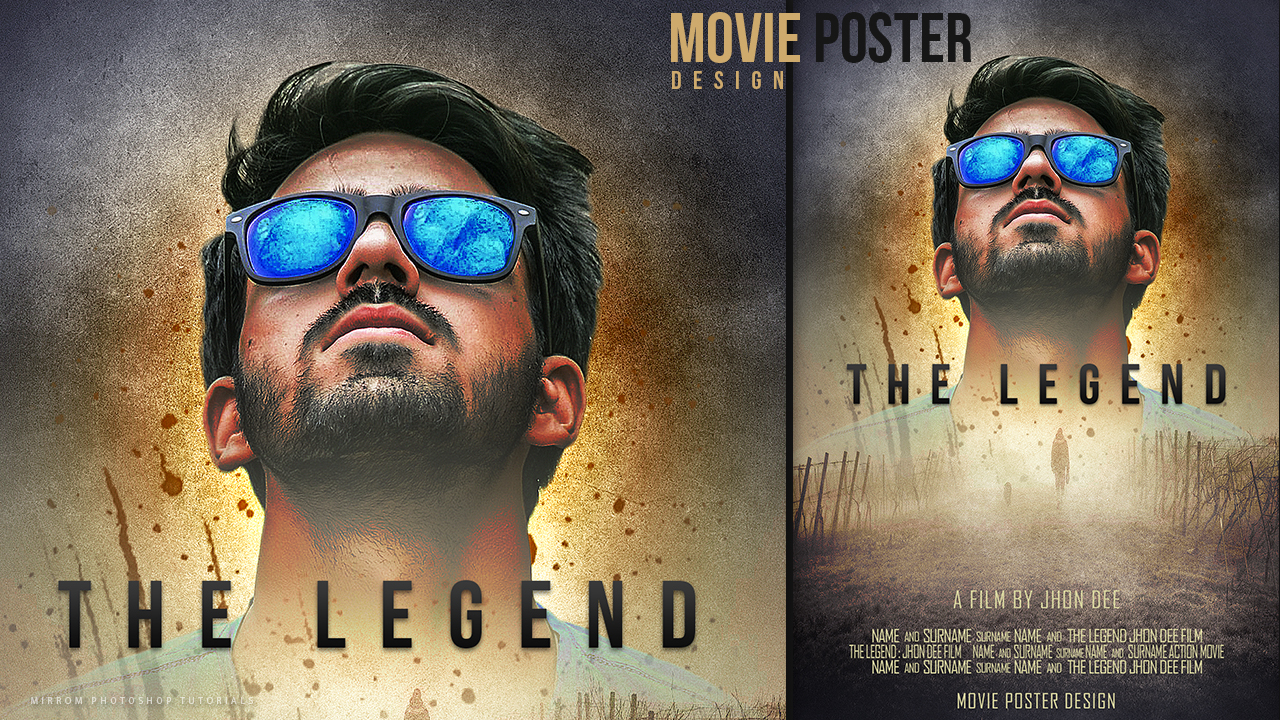
How To Make a Fashion Poster With Typography in Photoshop
In this tutorial, I will show you how to create a fashion poster with typography in Photoshop. To add depth of art to the fashion poster we will make, we will use texture image, color mixing, more sharpness and modern typography.
Tutorial Resources:
Model
Background
Texture
Paper

Video Guide
00:17 : Create a new document. Here using 1200px X 2000px and 300dpi
00:35 : Now fill the background with dfcebe.
00:45 : Alt + backspace
00:51 : Choose File > Place Embedded. Import the image with the texture background.
01:15 : Set it to 70% Opacity.
01:24 : Adding a Brightness/Contrast adjustment layer
01:31 : Set it to 33 Contrast
01:38 : Adding a Color Balance adjustment layer
01:42 : Set it to +36 Blue
01:50 : Adding a Gradient Map adjustment layer
01:59 : Enter color code c9c1ac - 686a79
02:11 : Change the blending mode to Soft Light
02:18 : Adding a Gradient Fill adjustment layer
02:25 : Enter Color Code dbecfc - 1f2f3c
03:00 : Change the blending mode to Multiply and set it to 86% Opacity.
03:11 : Hold down (Shift) then Click Group Layers (Ctrl + G)
03:27 : Import the image with the men and use the Quick Selection Tool to make selection on objects
04:02 : Add layer mask
04:06 : Now go to Select > Select and Mask
04:35 : Drag and drop layers to move to the main page
04:43 : Resize it to fit the canvas (Ctrl + T)
04:55 : Right-click on the layer mask thumbnail and select Apply mask
05:03 : Use Polygonal Lasso Tool
05:11 : Right Click and choose Layer Via Copy
05:19 : Ctrl + T and activate Switch between free transform and warp modes
06:06 : Merge Layers (Ctrl + E)
06:12 : Go to Image > Adjustments > Shadows/Highlights
06:46 : Select the Clone Stamp tool. Set the sampling point by positioning the pointer on the image and press ALT
06:59 : Ctrl + Click Layer thumbnail to make selection
07:12 : Now go to Filter > Sharpen > Shake Reduction
07:57 : Adding a Drop Shadow Layer Style
08:36 : Drag to Create a new layer or Ctrl + J (Duplicate layer)
08:40 : Right + Click on the layer and choose Clear Layer Style
08:48 : Change the blending mode to Linear Light
08:52 : Go to Filter > Other > High Pass
08:58 : Set it to 3.9 Pixels Radius.
09:03 : Adding a Color Balance adjustment layer
09:08 : Set it to 4 Red and 8 Blue
09:19 : Hold down (Alt) then Click create a new layer
09:33 : Use Dodge and Burn Tool to lighting, shadow
10:27 : Adding a Curves adjustment layer
10:44 : Hold down (Shift) then Click Group Layers (Ctrl + G)
10:51 : Choose File > Place Embedded. Import the image with the paper texture
11:01 : Change the blending mode to Divide and Set it to 76% Opacity.
11:13 : Choose File > Place Embedded
11:30 : Change the blending mode to Multiply and Set it to 81% Opacity.
11:42 : Ctrl + Click Layer thumbnail to make selection
11:47 : Add layer mask (texture)
11:52 : Press Ctrl + I to invert a layer mask
11:57 : Use Brush Tool (B) to edit mask
12:15 : Select the Background group. Create a text below the model group
12:23 : Use Horizontal Type Tool (T)
12:29 : The font I used it called Againts, Capture it 2 and BigNoodleTitling
13:36 : Adding a Gradient Overlay Layer Style

very helpful..need a tutorial dealing with a group of people like making artistes poster .. thanks in advance
ReplyDelete