Photoshop Tutorial : Wolverine Text Effect
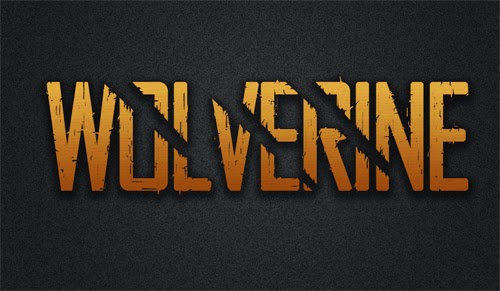
In this tutorial I will show how to create wolverine text effects. Wolverine is one of the X-MEN movie characters that have sharp and powerful claws. Created text will get scratches from the claws of Wolverine. Let's just go ahead and get started!
Step 1
Create a new document sized 800px width 750px height dark gray background color # 1c1c1c. Double-click on the Background layer to remove the key signature and name it Background.
Step 2
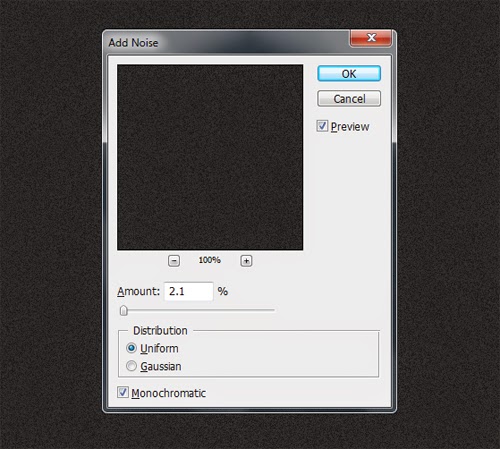
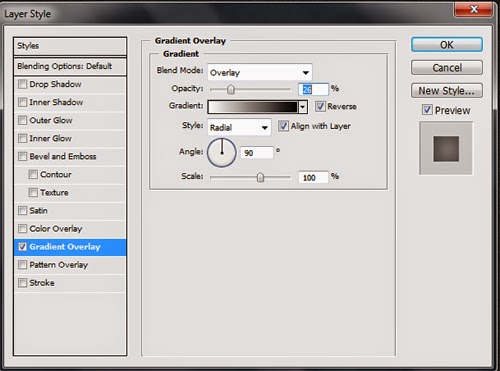
Choose Filter -> Noise -> Add Noise -> Amount: 2.1% and add layer styles: Gradient Overlay. Set as shown below.

Step 3
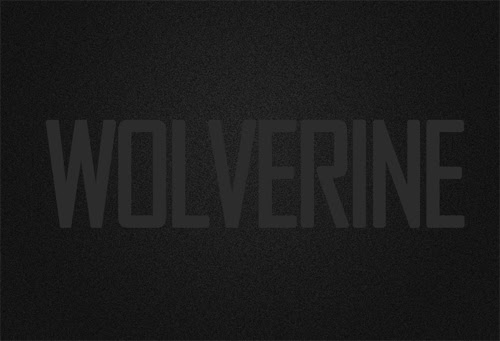
Activate the Horizontal Type Tool to type the text "WOLVERINE" set the font type: Agency FB, size 210pt.
Step 4
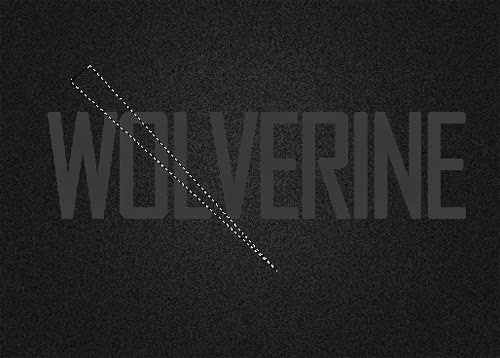
Next right click on the WOLVERINE layer and select the menu Resterize Type. Activate Polygnal Lasso Tool and create selection as shown below.
Step 5
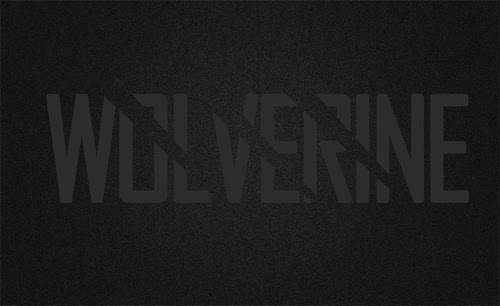
Press the Delete key on the keyboard to delete the selected text.
Step 6
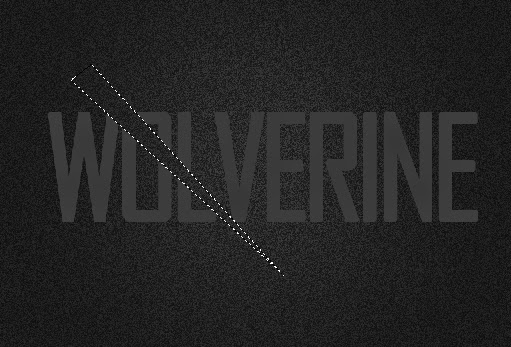
Slide to the right of selection two times using the right arrow on the keyboard and don't forget to press the delete button.
Step 7
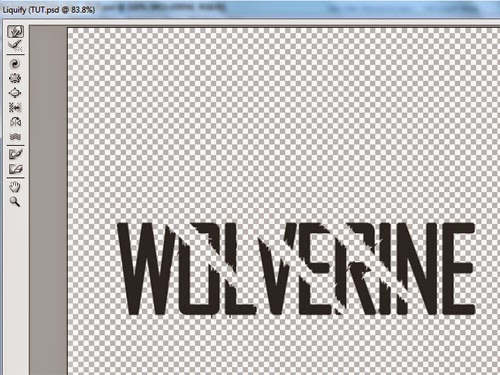
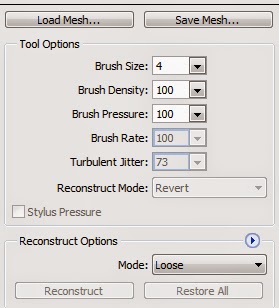
Choose Filter -> Liquify and use the Forward Warp Tool to make
claw scratches.
Step 8
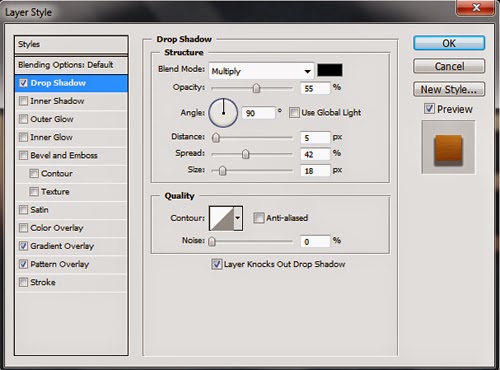
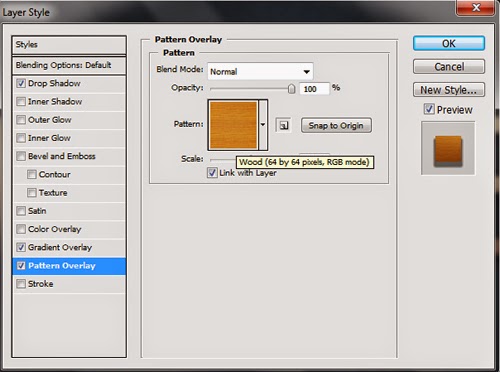
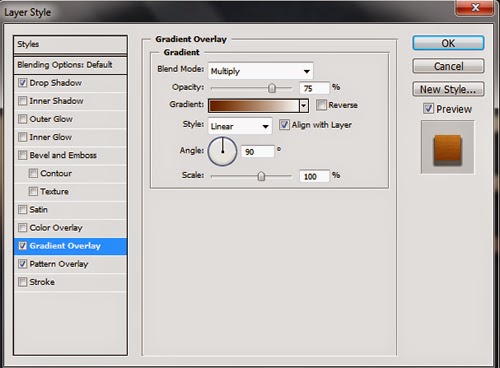
Click WALVERINE layer and add layer styles: Drop Shadow, Gradient Overlay, Pattern Overlay set like in the picture below.
And this is the final result wolverine text effects.


Comments
Post a Comment